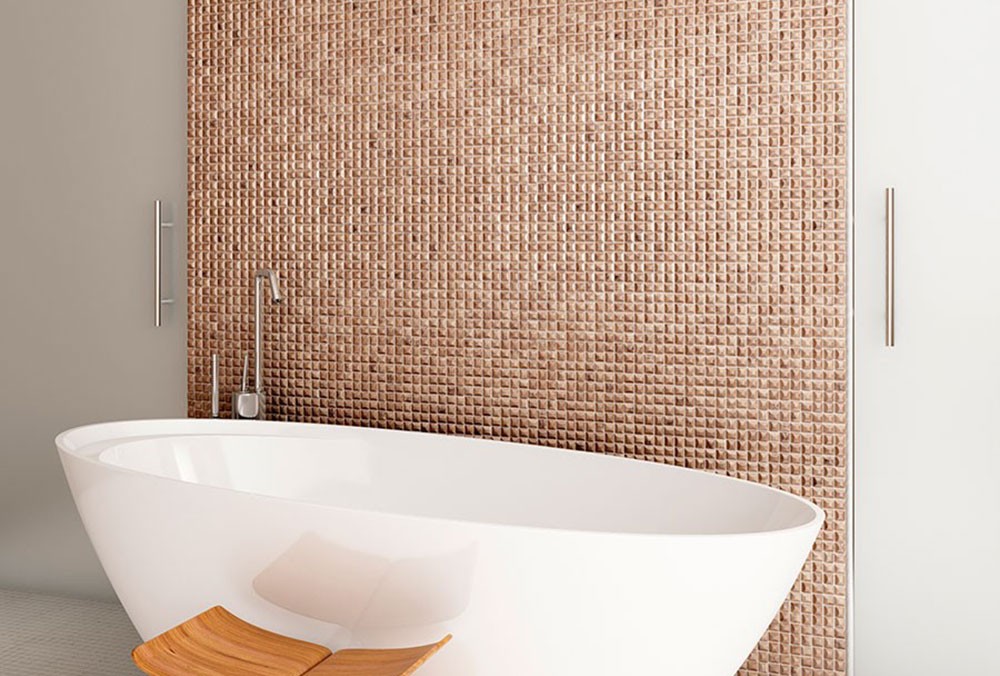
Ensure that the surface, walls and floor where the material is to be applied are perfectly flat and plastered, to obtain a perfect finish.
01.
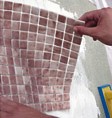
02.
Adjust the plate and place it on the base on which glue has been spread.
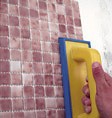
03.
Press with the aid of a wooden or rubber trowel.
04.
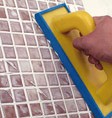
To fill the gaps, diagonally apply a layer of the filling material with a rubber putty knife.
05.
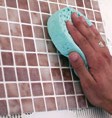
Clean with a damp sponge.
06.
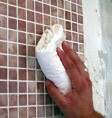
Rinse and then dry with a dry cloth.
07.
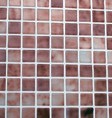
By following these instructions your work will take less time and improve significantly.
